CD Setup Certificate of Analysis
The document Certificate of Analysis can be set up and customized using the Corporate Design functionality, just like other documents.
Note
The Certificate of Analysis and the associated Corporate Design setup are only available when installing the ProBatch 365 Quality Assurance App.
Initial Setup
Like other documents, the Certificate of Analysis can be set up for the first time using the Function Initialize.
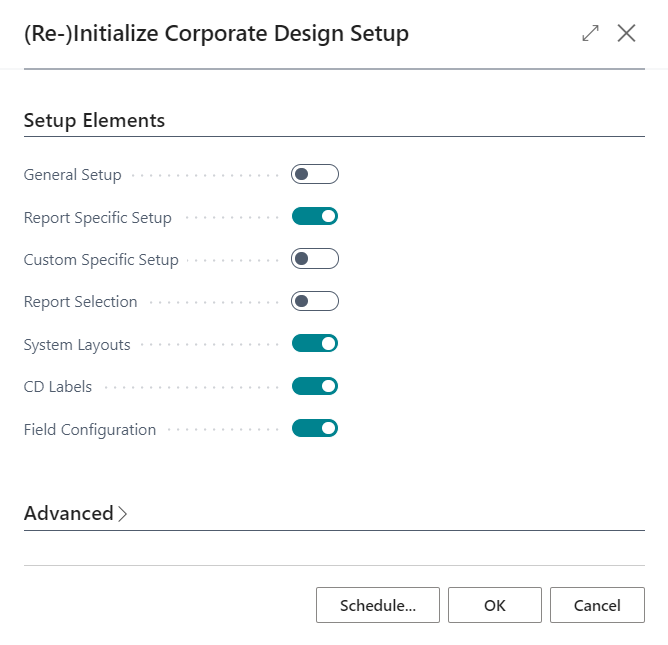
For this purpose, the function must be started via the ProBatch 365 Base Corporate Design Documents Setup. Within the Setup Elements page of the initialization function, at least the following options must be activated:
- Report Specific Setup
- System Layouts
- CD Labels
- Field Configuration
Note
Please note that re-initializing the System Layouts will overwrite the existing system layouts. It is recommended to copy the system layouts before making any changes to them. When updating the ProBatch 365 Quality Assurance App from a previous version in which the Certificate of Analysis was not managed by Corporate Design, re-initialization of the system layouts is necessary.
In the next step of the function, the Certificate of Analysis option must then be activated. This is located at the bottom of the input window.
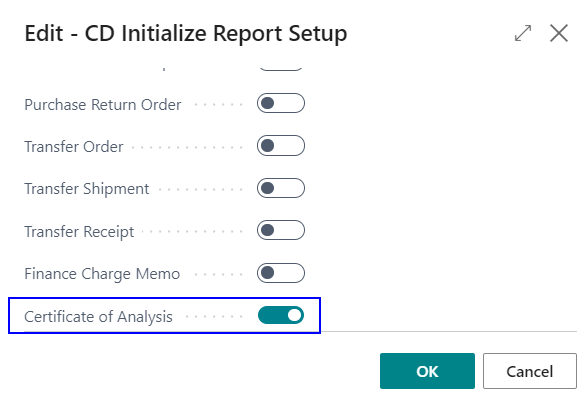
After executing this function, the Certificate of Analysis is set up and can be printed.
Here a print example:
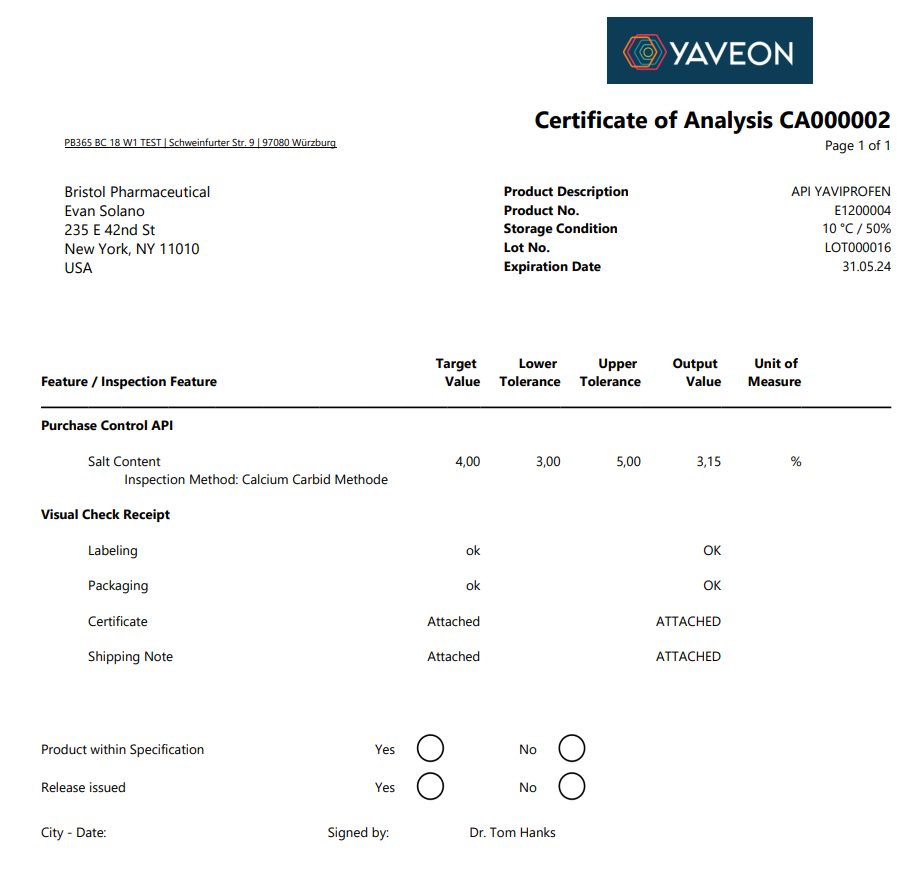
Report Print Details
In the Report Print Details of the ProBatch 365 Base Corporate Design Documents Setup, the Corporate Design Report-Specific Setup and the Corporate Design Custom Specific Setup there are the following two options in the section PB365 Quality Assurance, which add information to the Certificate of Analysis.
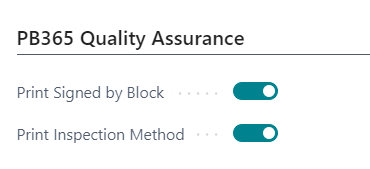
Print Signed by Block
By activating the Print Signed by Block option, a signature block is inserted into the Certificate of Analysis.
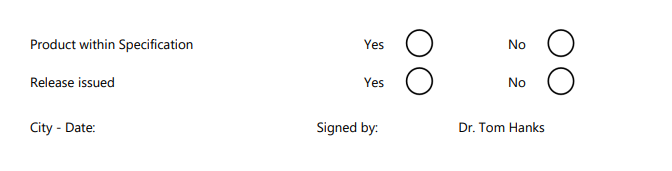
Print Inspection Method
If the Print Inspection Method option is activated, an Inspection Method from the line is printed as a line extension at the line level.

Specifics CD Field Configuration
Differing from other documents, which are set up via Corporate Design, there are the following specific setups for the Certificate of Analysis in the CD Field Configuration.
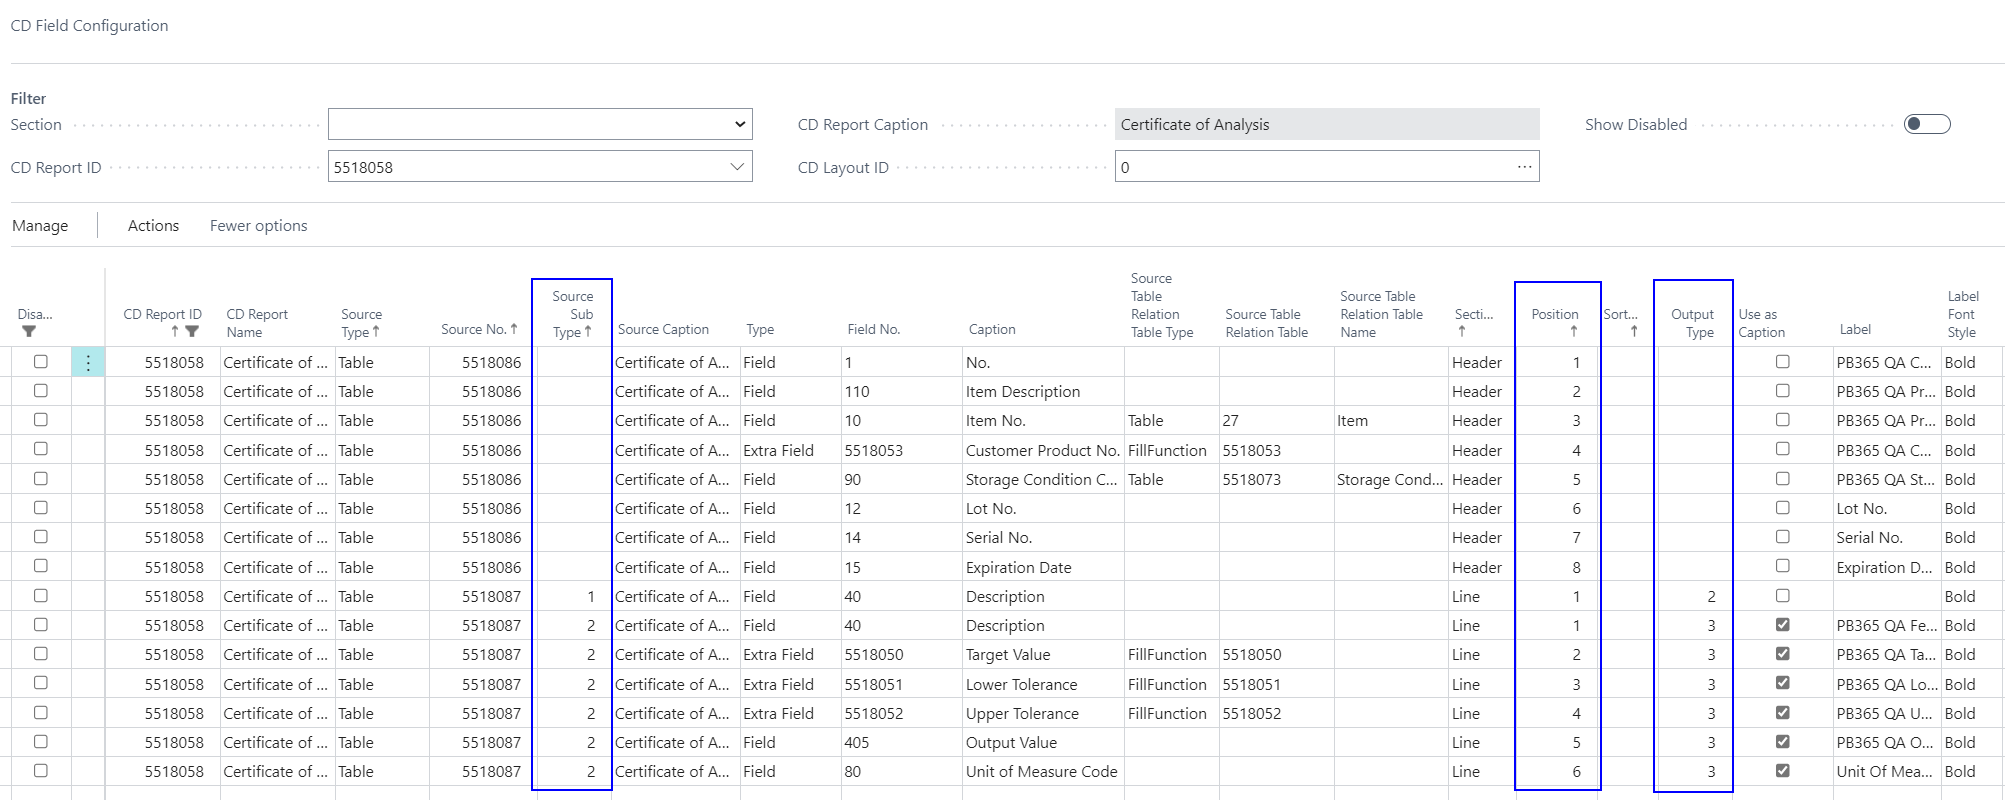
The values in the Source Sub Type field are used to distinguish between the two line types for Inspection Group and Inspection Feature that occur in the Certificate of Analysis. The value 1 represents the Inspection Group and the value 2 the Inspection Feature. The data in the setup lines with Source Sub Type 1 will be printed on the Certificate of Analysis if the line type is Inspection Group. In the initial setup, this is only the description of the Inspection Group. Correspondingly, the lines with Source Sub Type 2 are printed on the Certificate of Analysis if the line type is Inspection Feature.
The values in the Output Type field refer to the position and division of the columns for the row. The values 2 for line type Inspection Group and 3 for Inspection Feature define in particular the initial position of the first column.
The printout of the fields Target Value, Lower Tolerance and Upper Tolerance is controlled by a setup combination of column Type Extra Field* and Source Table Relationship Type Fill Function. The fields are not printed directly, since the data type of the field and any translations are taken into account via the fill function.